We would love to hear from you, to discuss how our business can help yours. We would be delighted to visit your premises to provide a free no obligation quote, whether you are yet to employ a cleaning company, or if you are unhappy with your current one. You can either call us on 0333 050 1139 or fill in this form - We will call you back as soon as possible.
How to clean a standing fan - Great tips how to get inside those blades - 7 easy stages
Table of Contents
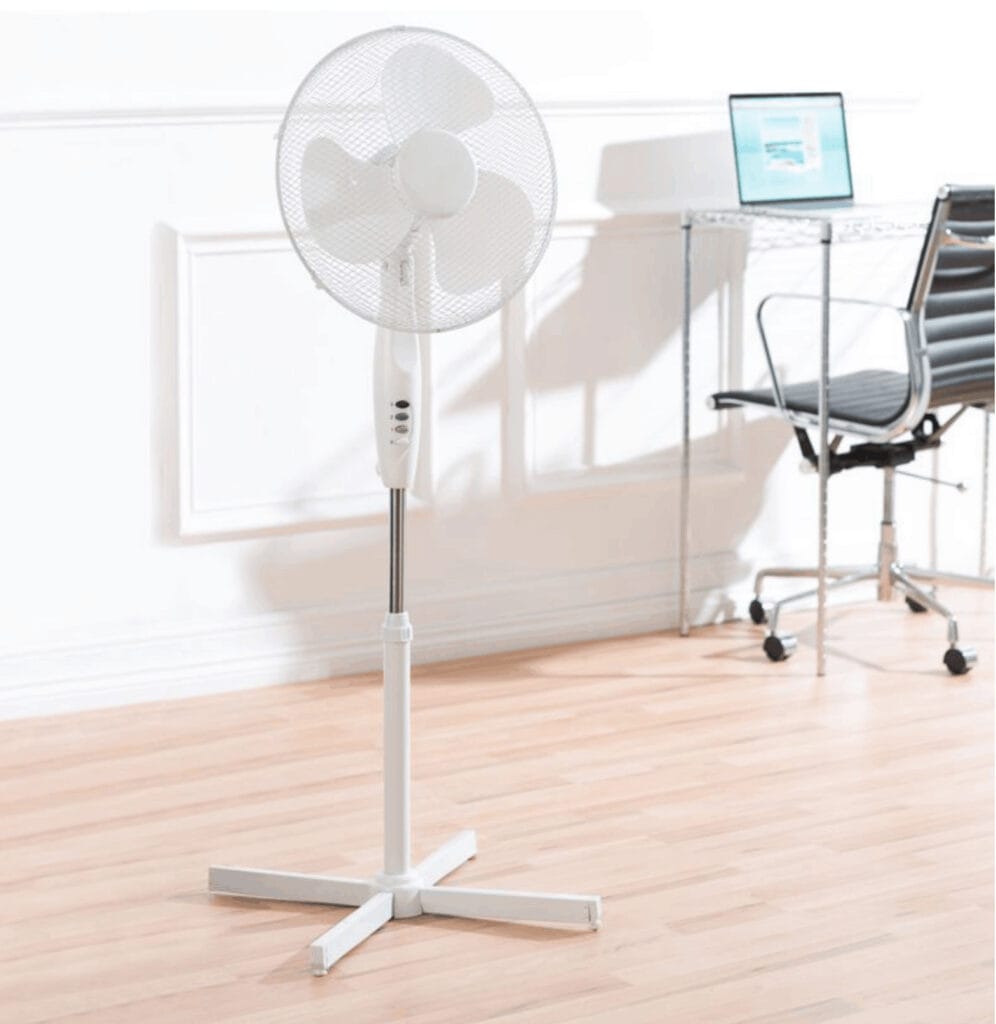
How to clean a standing fan
Do you know how to clean a standing fan? You will after reading this short guide.
Also known as pedestal fans, standing fans have been a familiar sight in workplaces and homes for decades. While most people use them during the warmer months, plenty of us run them at night for background noise or to keep air moving in the bedroom.
Because they’re used so often, they collect dust quickly — and that dust gets blown around the room every time the fan is switched on.
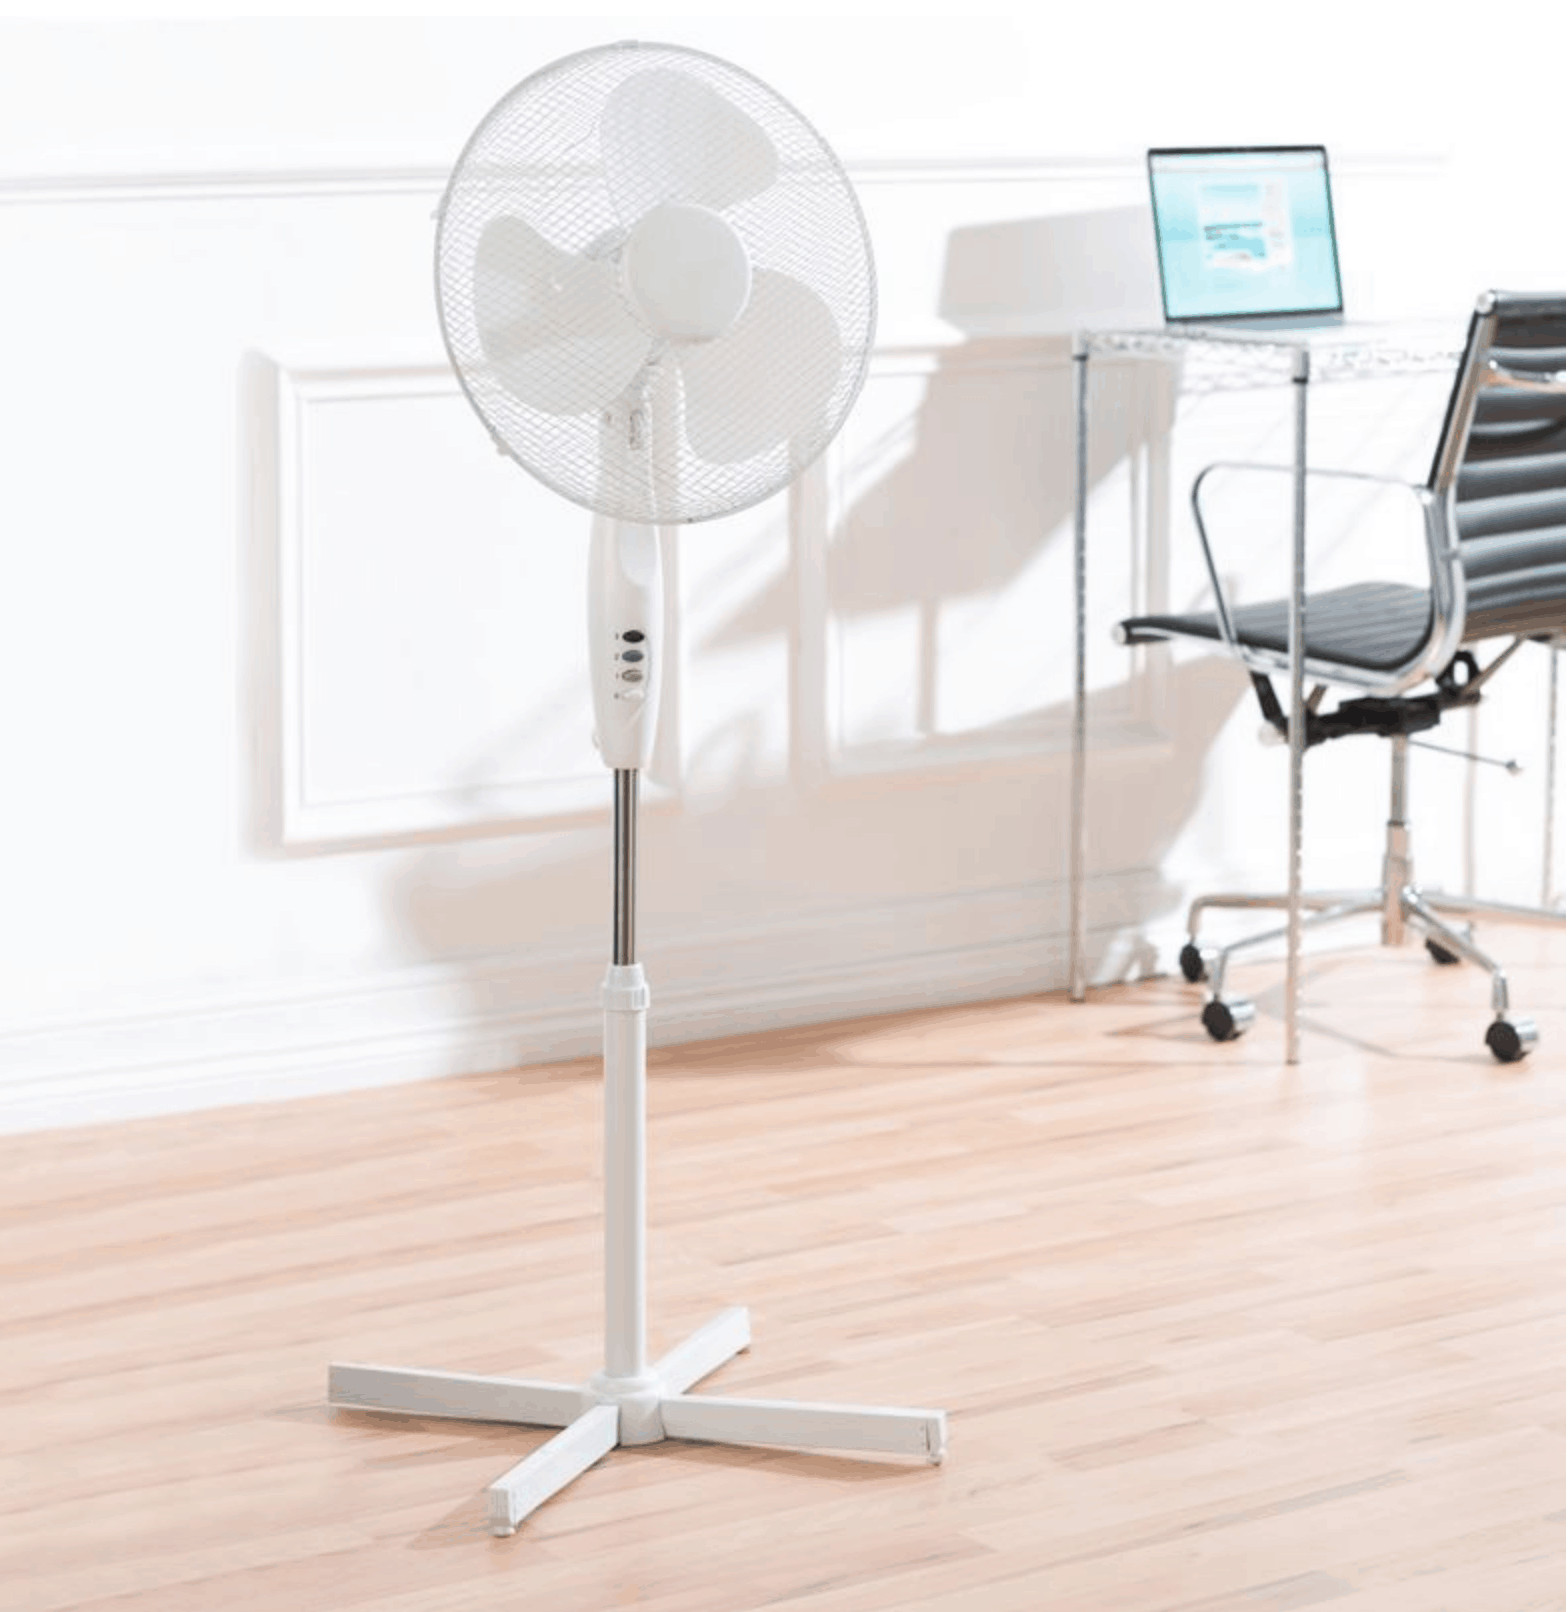
How to clean a standing fan
Why cleaning a standing fan matters
Standing fans don’t just move air; they move dust, fluff and anything else that’s floating around. Dust builds up on the grill and blades, and if it’s left too long, the fan becomes less efficient and can even start to smell when running.
Regular cleaning helps:
reduce allergens
improve airflow
keep the fan running quietly
extend the life of the fan
Here’s how to clean your pedestal fan safely and effectively.
Safety first, every time
Before you do anything, turn the fan off at the socket and unplug it. Wrap the cable so it’s out of the way and not a trip hazard.
It takes less than 30 seconds, but it prevents two big problems:
accidental injury if the blades start spinning
dust being blown around the room while you’re cleaning
A tiny bit of preparation saves a lot of hassle.
1. Remove the front grill safety cover
Most standing fans have two small screws holding the front grill in place. Remove them and put them somewhere safe — a small bowl works well.
Some fans use clips instead of screws. Either way, the front grill should come off easily.
2. Remove the centre cap
Behind the grill, you’ll see a round centre cap where the blades meet. This usually twists off, although some models use a small screw or catch.
Once removed, you’ll have access to the blades.
How to clean a standing fan
3. Remove the fan blades
The blades normally slide straight off the spindle. Some fans have a small screw holding them in place — if so, keep it with the others.
Removing the blades makes it much easier to clean the fan properly.
4. Remove the rear grill safety cover
This is the final part of the dismantling process. The rear grill may slide off or be held by another small screw.
Keep all screws together so reassembly is quick and stress‑free.
5. Get the vacuum out
Before washing anything, vacuum all parts of the fan — including the stand and motor housing. A brush attachment works best, but a microfibre cloth will do if you don’t have one.
Vacuuming first removes loose dust and saves time later.
6. Time for a bath (or at least a large bowl!)
To clean the grills, blades and centre cap properly, submerge them in warm water mixed with washing‑up liquid. Depending on the size of your fan, you may find it easier to use a shallow bath.
Fully soaking the parts ensures every surface is cleaned, including the awkward areas between the grill wires.
Use a clean cloth to wipe away any stubborn dirt.
7. Time to dry and reassemble
Rinse everything thoroughly and make sure all parts are completely dry before putting the fan back together. Any moisture that gets into the motor can cause damage.
Once dry, reassemble the fan in the reverse order you took it apart. Keeping the screws safe earlier makes this step much easier.
How often should you clean a standing fan?
How often you clean your fan depends on how much you use it. A fan that runs every night will gather dust far quicker than one used occasionally in an office.
As a general guide:
Light use: every 2–3 months
Daily use: every 4–6 weeks
Dusty environments: every 2–3 weeks
If the grill looks grey or the fan starts blowing dust when switched on, it’s overdue a clean.
Extra tips to keep your fan cleaner for longer
A few small habits can make a big difference:
Keep the fan away from the floor where dust gathers
Wipe the grill lightly once a week
Avoid running the fan in very dusty rooms
Store the fan covered when not in use
Clean the surrounding area — dust near the fan gets pulled straight in
These simple steps help reduce build‑up and keep the fan running smoothly.
In summary
We hope you’ve found this guide on how to clean a standing fan useful. A little regular maintenance keeps your fan running efficiently and helps maintain a cleaner, healthier environment.
The easiest way to keep your workplace looking great and free of dust is to hire a reliable commercial cleaning company. Click here to learn more about Green Fox Cleaning, who provide commercial cleaning services across all sectors.